How to Prevent Ice Dams
Early Spring is a good time to assess the problems you faced due to winter’s assault on your home, and make plans to address them during the warm weather ahead. If you experienced ice dams along roof edges and gutters there are things you can do now to keep them from forming next winter and causing damage to the roof, gutters and downspouts, as well as the inside of your home.
What Causes Ice Dams
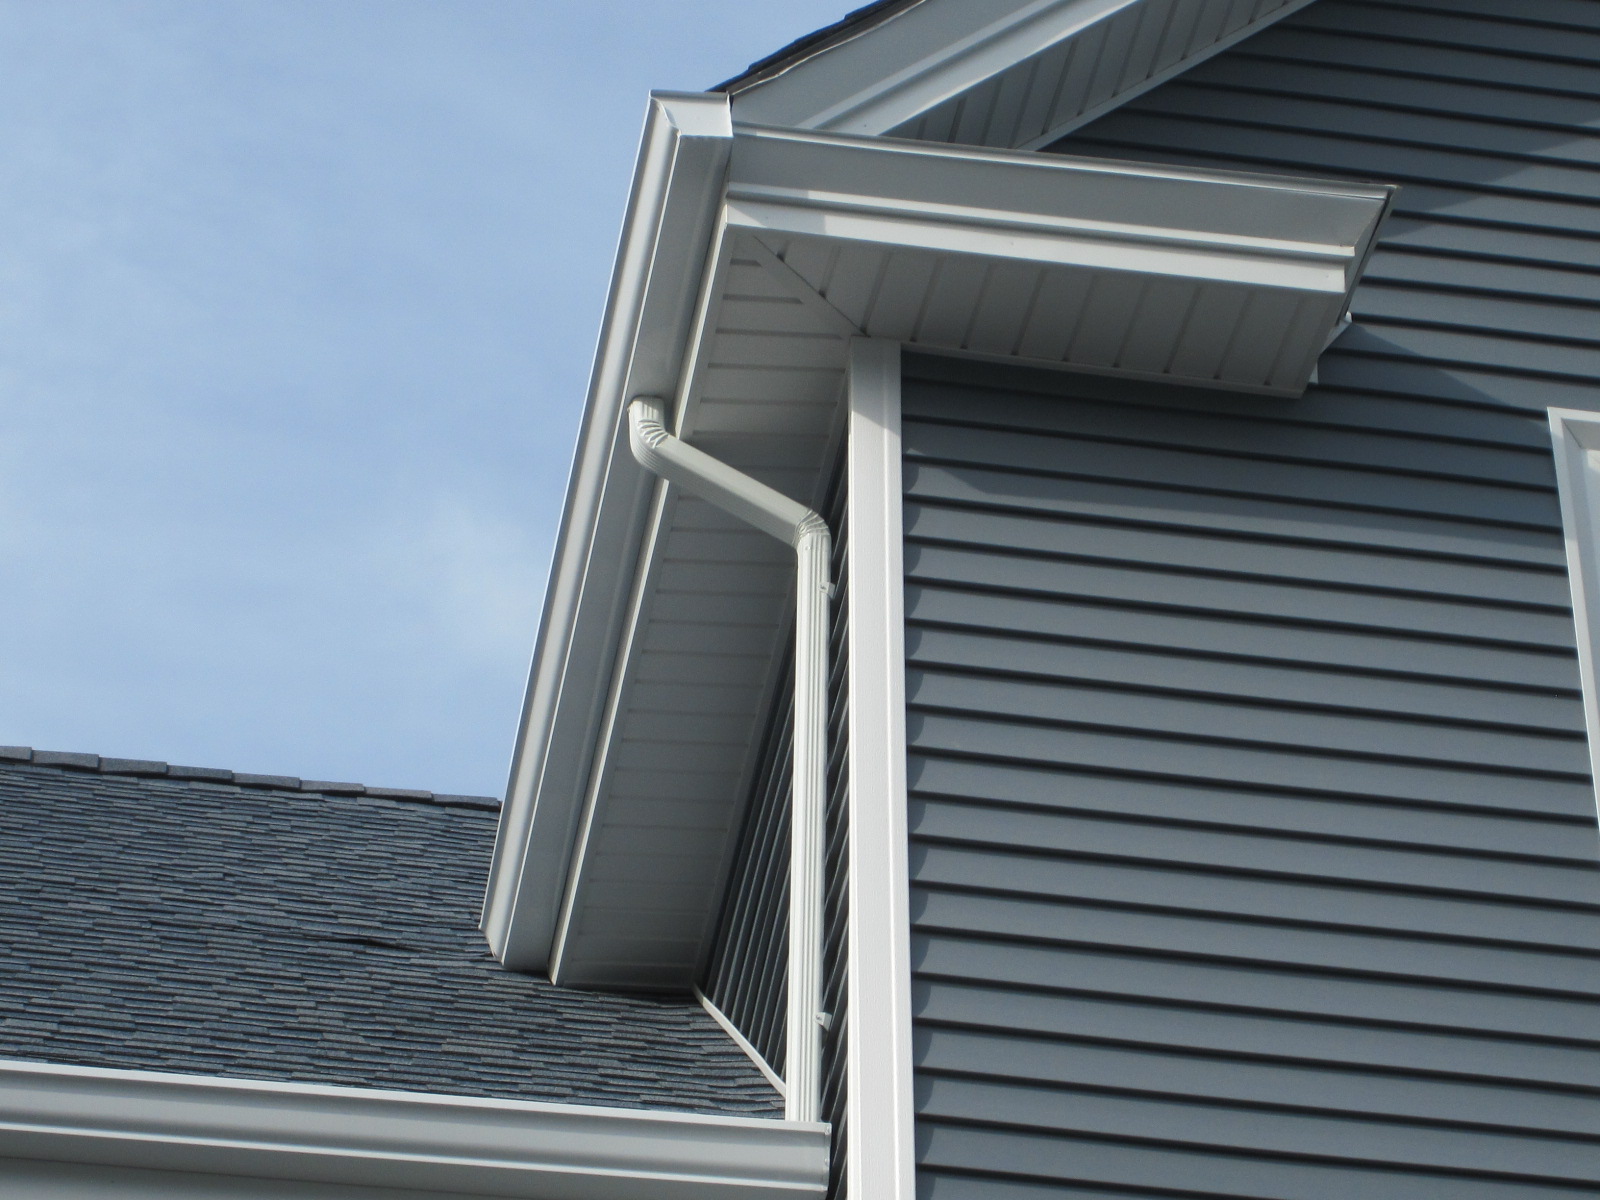
The primary cause of ice damming is poor attic insulation and ventilation. In other words, if too much heat is escaping from inside of your home into the attic, it can warm the attic and roof temperature enough to melt the snow accumulation on your roof. The water trickles down between the snow and the shingles until it reaches the eave of the roof. The eave stays cold because it extends beyond the main structure of the house. There, the water freezes, gradually growing into a mound of ice on the end of your roof and gutters. The flatter the pitch of the roof, the more likely it is for an ice dam to form.
When an ice dam gets big enough, melted water can back up behind the dam and seep underneath the roof shingles. Eventually, the water can make its way into your home and cause damage to your ceilings, walls, floors, and foundation. If the ice dam breaks free and falls, it can pull shingles and gutters off with it, and it can damage anything it falls on.
Reducing Ice Dams
Fixing ice dams once they have formed is difficult and dangerous work, best left to professionals. Preventing them from forming is the best long-term solution.
In principle, the answer is simple: Just keep the entire roof the same temperature as the eaves. That is done by increasing ventilation, adding insulation, and sealing off every air leak that might warm the underside of the roof.
Below are a few suggestions that may help reduce or totally eliminate ice dams.
- Ventilate Eaves and Ridge. A ridge vent paired with continuous soffit vents circulates cold air under the entire roof. Place baffles at the eaves to maintain a clear path for the airflow from the soffit vents.
- Cap the Hatch and Attic Fan. An unsealed attic hatch or a whole-house fan must be covered with insulated material.
- Exhaust Properly. Make sure that kitchen, bathroom, and dryer vents all lead outdoors through either the roof or walls, but never through the soffit.
- Insulate. Add insulation to the attic floor to keep the heat where it belongs – inside of the house.
- Install Sealed Can Lights. If you have recessed lights in your house, remember the older ones give off a great deal of heat into the attic. They cannot be insulated without creating a fire hazard so you must replace them with sealed “IC” fixtures, which can be covered with insulation.
- Flash Around Chimneys. Bridge the gap between chimney and house framing with steel flashing. Hold it in place with a fire-stop sealant. Using canned spray foam or insulation is not fire safe.
- Seal and Insulate Ducts. Spread fiber-reinforced mastic on the joints of HVAC ducts and exhaust ducts. Cover them entirely with R-5 or R-6 foil-faced fiberglass.
- Caulk Penetrations. Seal around electrical cables and vent pipes with a fire-stop sealant. Also, look for any spots where light shines up from below. These are places where heat is escaping into the attic.
These precautions will help to keep the entire roof the same temperature as the eaves and will prevent ice dams from forming. In addition you will benefit from reduced heating bills when you keep warm air from escaping from your living space, into your attic.